


Eliana loves to play with electronics!


The only problem is that the cable box can't be moved out of her reach.
We also keep a basket full of puzzles to the right of the cable box - so it is often times very tempting to push the buttons on the cable box as well.

So we improvised and made a cover for the cable box so that she can't reach it, but the remote still can :-)
I was excited to start this small diy project because I got to use two of my brand new tools!

So I first built the basic box using 3/4" plywood that we had leftover in the basement from another project. I measured the cable box and ledge it was sitting on so that we had a good fit.
 |
| The box essentially was a shell that was going to slide onto the cable box |
 |
| I cut three pieces - two sides and one top. It was 20" wide x 16" deep x 7" high |
 |
| Here is a side view. |
 |
| I attached the sides and top with pocket holes (I used a Kreg Jig for this). |
 |
| The pocket holes are nice because you can't see any of the screws from the outside top or sides. |


And then we tested it in the family room to make sure we liked the size and color.
|
| Testing the color and size before adding the finishing touches - you can see the vent on top of the cable box with a couple inches of room between it and the new box we built. |


We cut the metal sheet to the size we needed (to fit on the front of the box) using metal sheers.
 |
| While cutting, it worked best if I rolled the part I was going to throw away |

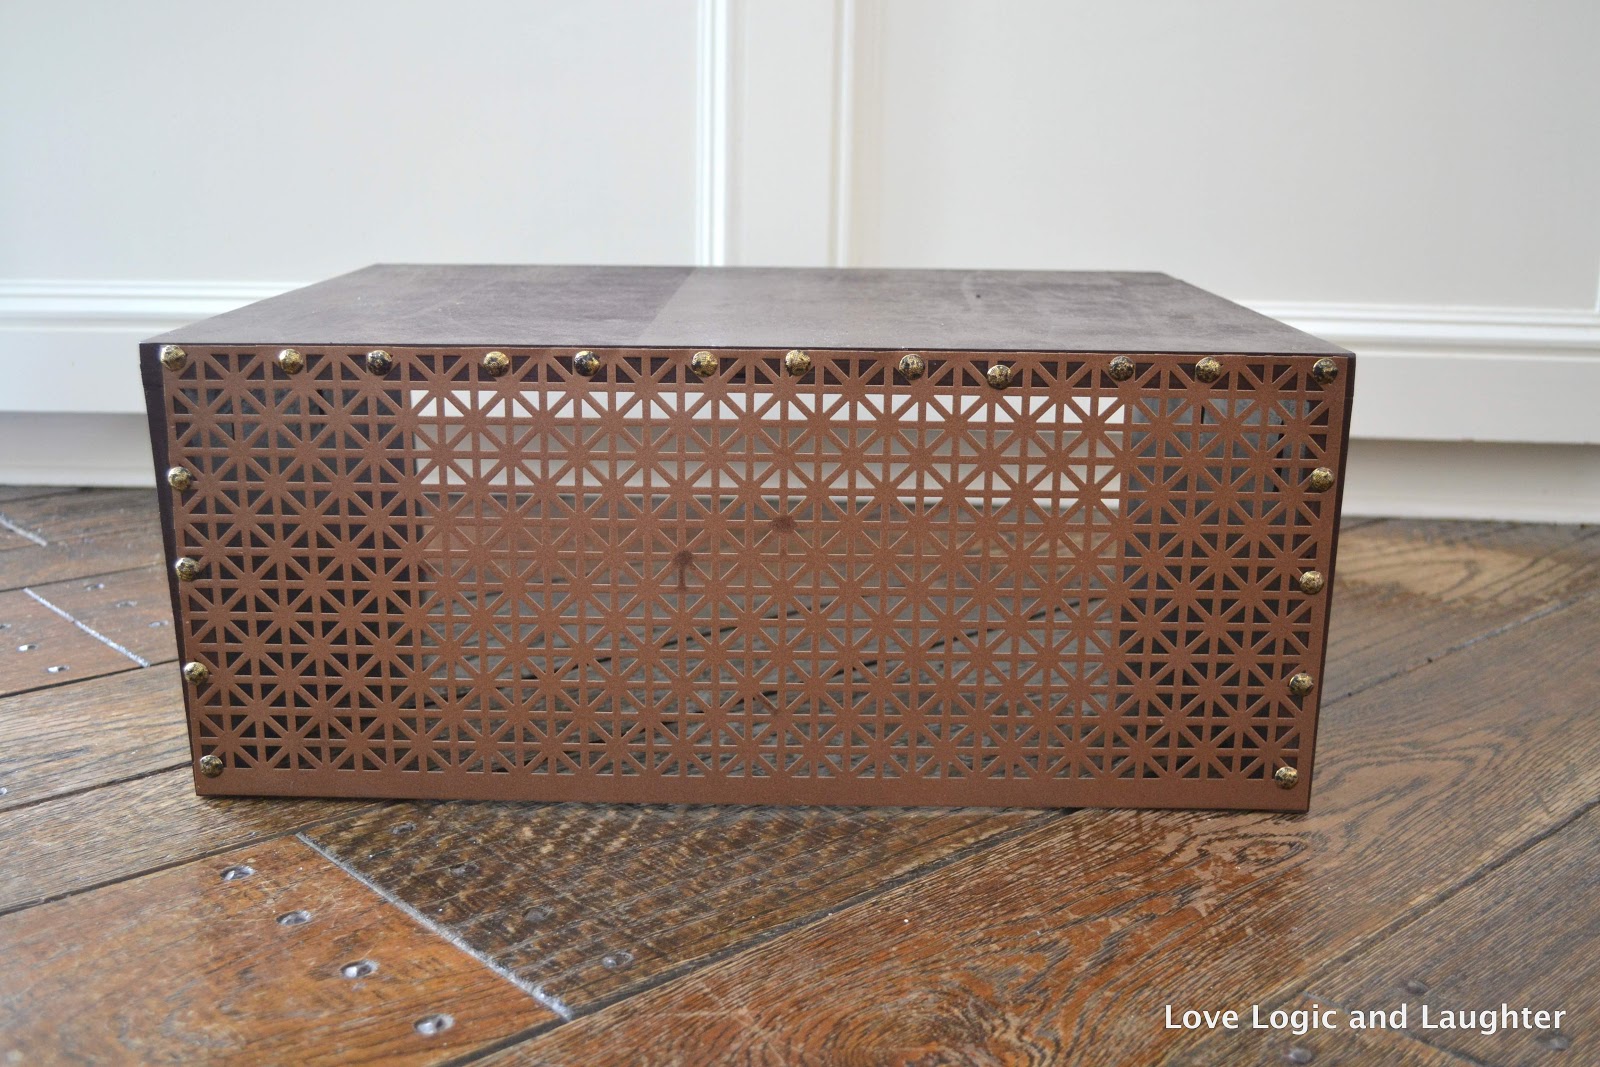
I used upholstery tacks to attach the screen to the front of the box.


The Finished Product!


The finished product in use.


No comments:
Post a Comment
Like It? Leave a Comment!