

 |
| After |
 |
| Before |
 |
| After |
 |
| Before |
BEFORE and AFTER
Painted Light Fixtures
When we moved into our home we did a major makeover on it. Of course the work is never done, but we have gotten to a point where we live comfortably in it without feeling like it isn't ours.
Almost every light fixture in the house was replaced - a very easy diy if you know basics of electrical work (thanks for teaching me Daddy). So we saved money by replacing the lights ourselves, but it also gets expensive buying new lights.
When looking for lights in the kitchen I knew I wanted an oil rubbed bronze color with some crystals. We needed two flush mounts, one hanging chandelier and one small hanging chandelier for above the sink. I found lights that I liked and that were in our budget, however they weren't all oil rubbed bronze. The two flush mounts were chrome... darn.

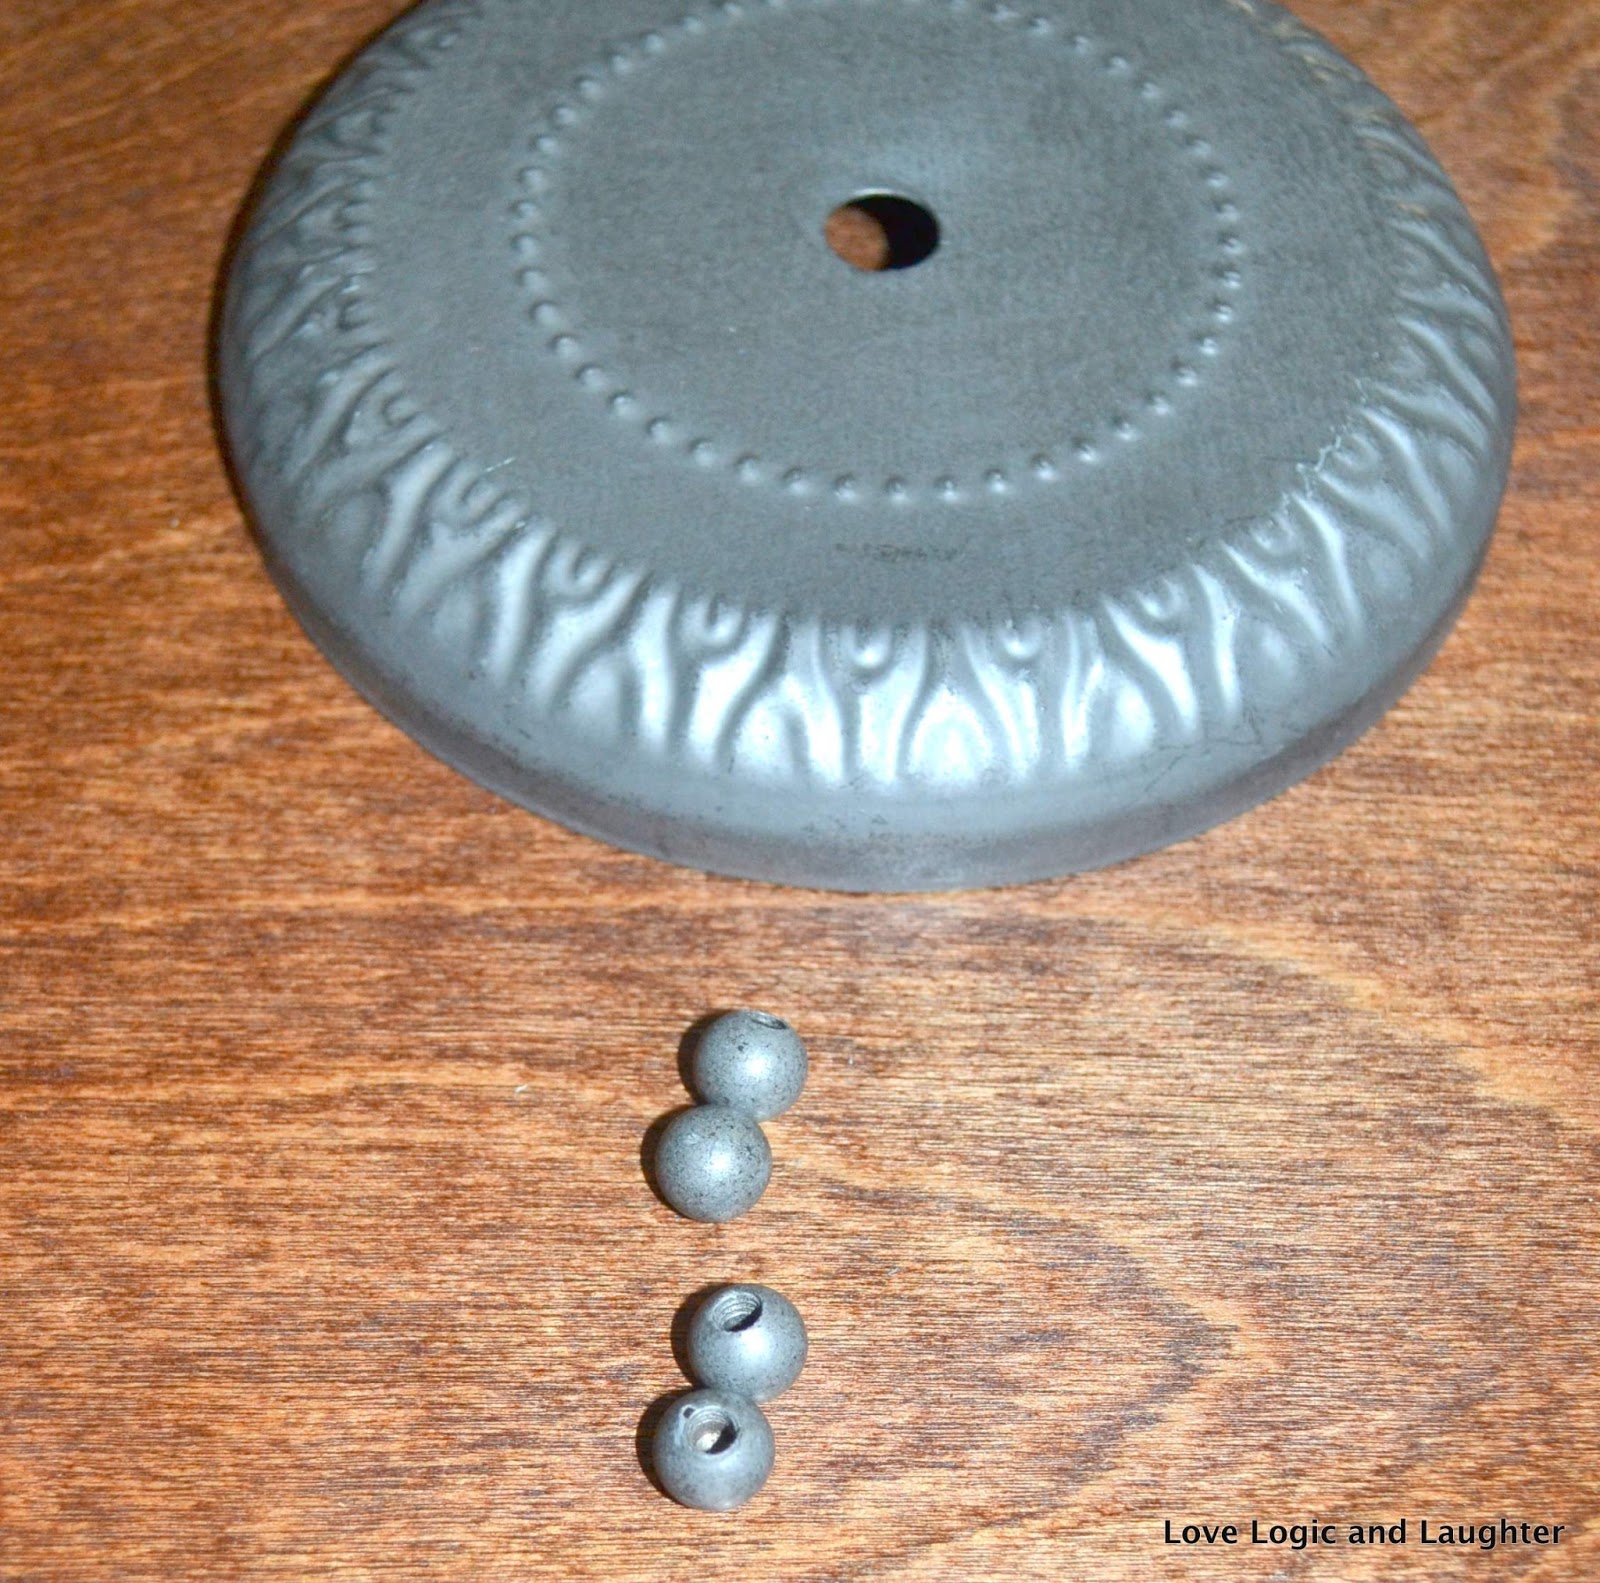
Fortunately that is an easy fix. You can easily paint a light fixture. Take the crystals off, cover the electrical part of the light (I usually use electrical tape) and lightly brush the metal with extra fine steel wool to rough it up just a bit. Then pick a spray paint color and paint. Whala! Easy! Done! Now we have four coordinating light fixtures in the kitchen.
 |
| Painted oil rubbed bronze |
 |
| A lot of the pieces are removable. Take the fixture apart to paint it more easily. |
 |
| side picture of the painted fixture |

Finished and Hung:

 |
| You can see the two flush mounts are painted and the chandelier (hanging over the table) matches nicely. They also match the mini chandelier hanging over the sink. |
For example, here are the lights in the downstairs powder room:


Here is the before:

YIKES!

Yes, we did buy this house... but you can see we changed it quite a bit. :-) Obviously, the light fixtures weren't the only problem in this bathroom. But it is the only "Before" picture I have. You can see they are the same fixtures, just painted oil rubbed bronze. Tada!
And just for fun, here is a picture of one of the "before" kitchen light fixtures - it couldn't be fixed with just paint...
 |
| Wow - there it is on the right... |
To see Before and After Photos of our kitchen check out: Budget Kitchen Makeover
 |
| Our kitchen looks totally different now - thank goodness! Still not sure how I convinced my husband this house had potential - looking back at the pictures I don't know how I saw it either... |
 |
| And most importantly, HAPPY BIRTHDAY MOMMY! WE LOVE YOU!!! |
This comment has been removed by the author.
ReplyDeleteCommendable blog. I am really thankful to you for sharing this inspiring blog post! Ceiling lighting
ReplyDelete