

I recently posted photos of my new curtain in my also new "Reading Room".

I found a wonderful "how-to" from Living Solutions The Blog: Ideas and Inspiration
I altered her tutorial just a bit and made my own box pleat curtain. She does a great job describing how to measure how much fabric you will need with the addition of the pleats, hems, etc.
For my curtain I only wanted 1 pleat. For each pleat you need to add 8 inches of fabric. So, this is how I did my math: my window is 46" wide. I wanted my valance to be 47" wide (just wider than the window). So my fabric needed to be 47" plus I added 8" for 1 pleat, 1/2" for 1/4" hem on each side, 7" for the 3 1/2"'s on each side of the board to wrap around and an additional 1" to wrap around to the back of the board to staple it. Therefore my fabric was 63 1/2" wide.
I wanted my valance to be 16" high. I measured 16" plus 3 1/2" for the width of the board it would attach to, plus 1" for hemming allowance around the top and bottom. So my fabric was 20 1/2" high.

I used a Target curtain panel for my fabric. I happened to be walking through Target and found a curtain panel for $20 in the perfect color. For the amount of fabric you get, it is quite a deal!


After the valance is sewn and ironed, you need to attach it to your board. I used a staple gun to attach it to my wood 2x4 board. I did it exactly as is shown on the Living Solutions Blog:


For more photos of the completed valance in place visit the original post: Box Pleat Valance - DIY
I found a wonderful "how-to" from Living Solutions The Blog: Ideas and Inspiration
I altered her tutorial just a bit and made my own box pleat curtain. She does a great job describing how to measure how much fabric you will need with the addition of the pleats, hems, etc.
For my curtain I only wanted 1 pleat. For each pleat you need to add 8 inches of fabric. So, this is how I did my math: my window is 46" wide. I wanted my valance to be 47" wide (just wider than the window). So my fabric needed to be 47" plus I added 8" for 1 pleat, 1/2" for 1/4" hem on each side, 7" for the 3 1/2"'s on each side of the board to wrap around and an additional 1" to wrap around to the back of the board to staple it. Therefore my fabric was 63 1/2" wide.
I wanted my valance to be 16" high. I measured 16" plus 3 1/2" for the width of the board it would attach to, plus 1" for hemming allowance around the top and bottom. So my fabric was 20 1/2" high.

I used a Target curtain panel for my fabric. I happened to be walking through Target and found a curtain panel for $20 in the perfect color. For the amount of fabric you get, it is quite a deal!
 |
| Measuring before cutting my fabric (63 1/2" X 20 1/2") |
 |
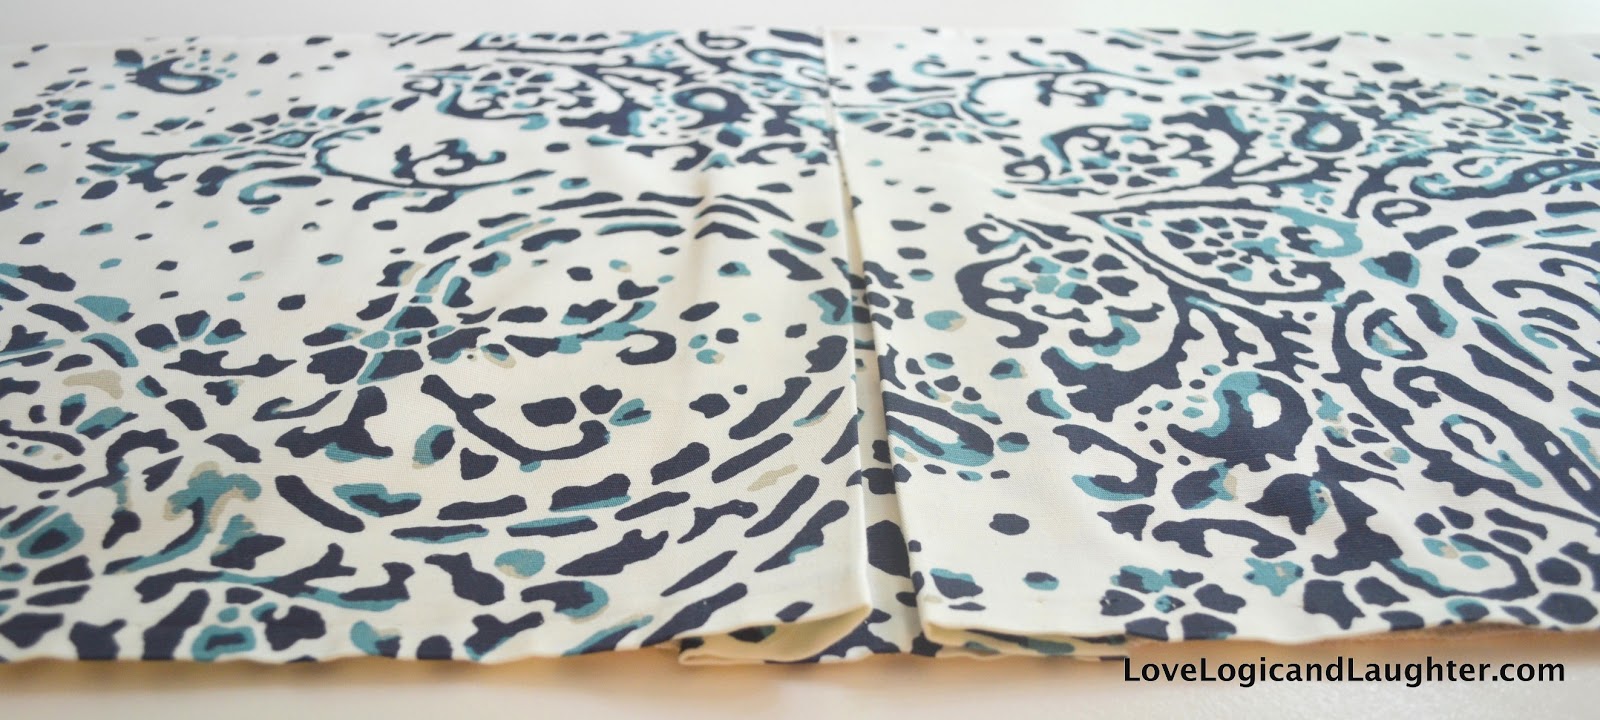
| Finding the center of my fabric and pinning my pleat. |
 |
| Pleat pinned - each fold is 2" |
 |
| I factored a total of 8" for my 1 pleat |
Before sewing, iron your pleat(s)!
 |
| After sewing my pleat into place - I sewed down the middle on both sides about 6 inches |
 |
| View of the sewn pleat from the back |
 |
| I then placed my curtain onto my lining fabric and cut my lining fabric to the same size. I then pinned the right sides together of my lining fabric and my curtain fabric |
 |
| I then sewed around the top and 3/4" of the way around the sides of the fabric |
 |
| I did not sew around the bottom or 1/4 of the sides. This way I could hem them separately. |
 |
| The curtain has been turned right side out and ironed |
 |
| In this picture you can see that I still need to hem my lining fabric and then sew together the sides |
 |
| I then hemmed the lining and outer fabric. For the outer fabric I sewed a blind hem after serging it. |
 |
| Blind hem completed on outer fabric |
 |
| Blind hem completed on outer fabric (you can't see the stitching!) |
 |
| I serged the lining fabric and then sewed down the sides of the valance to finish the sides. |
 |
| Sewn down the sides of the valance to attach the the lining and outer fabric |

 |
| View from the back |
 |
| Views from the front |


 |
| Views of front with back folded over |

After the valance is sewn and ironed, you need to attach it to your board. I used a staple gun to attach it to my wood 2x4 board. I did it exactly as is shown on the Living Solutions Blog:
 |
| She explains in detail how to wrap your corners. |
My finished valance!

For more photos of the completed valance in place visit the original post: Box Pleat Valance - DIY
It looks awesome! I love the fabric too! So glad the tutorial was helpful. Thanks for referencing us :) ~gina
ReplyDelete